Creating a Band
Creating a band is a short, four-step flow. Open the Create a Band option from the My Bands tab of the Bands modal to get started.
You can be a member or owner of up to 3 bands at a time. If you've already reached the limit, you'll need to leave a band before creating a new one.
Step 1 — Identity
Choose your band's name and tag.
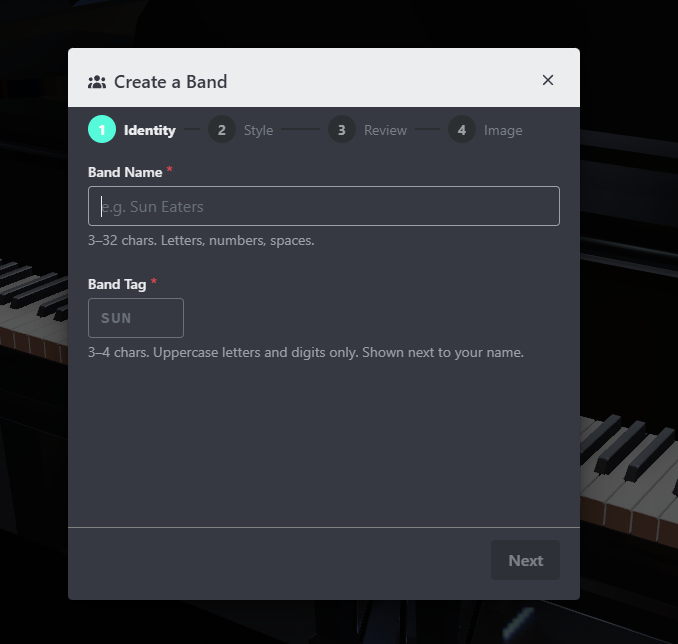
- Band Name — 3 to 32 characters. Letters, numbers, and spaces. Must be globally unique.
- Band Tag — 3 to 4 characters. Uppercase letters and digits only (the field auto-uppercases as you type). Must be globally unique.
Both fields run a real-time availability check as you type:
- A green check means the value is available.
- A red X means it's already taken or doesn't match the format rules.
- A spinner means the check is still running.
If your name or tag contains language the filter flags, you'll see a hint that it will be saved as a censored variant. Pick a different value if you want the original text preserved.
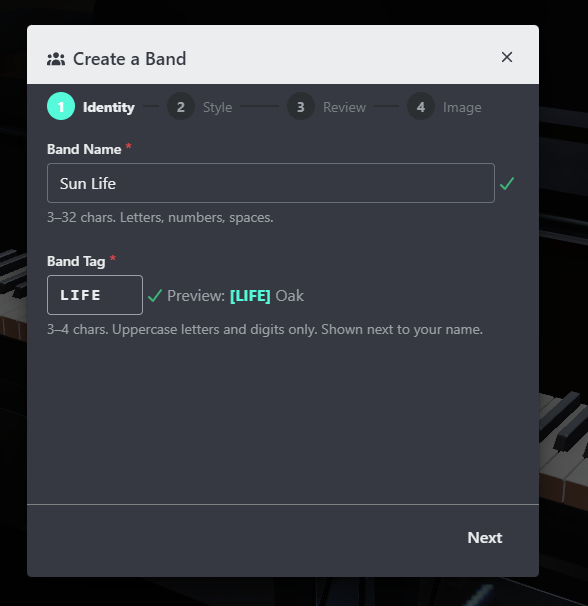
Click Next when both fields are available.
Step 2 — Style
Give your band a personality.
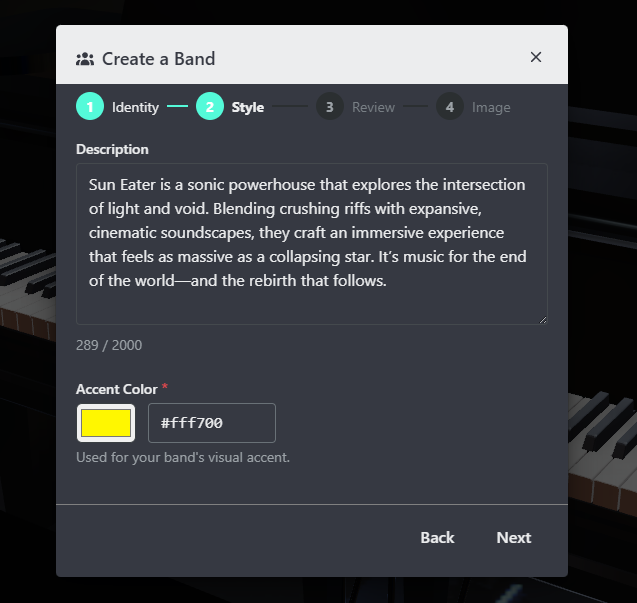
- Description (optional) — Up to 2000 characters. Tell people what the band is about.
- Accent Color — A hex color used as the band's accent in the UI. Pick from the color picker or paste a hex value (e.g.
#FF8800).
Click Next to continue.
Step 3 — Review
Confirm everything before you create the band.
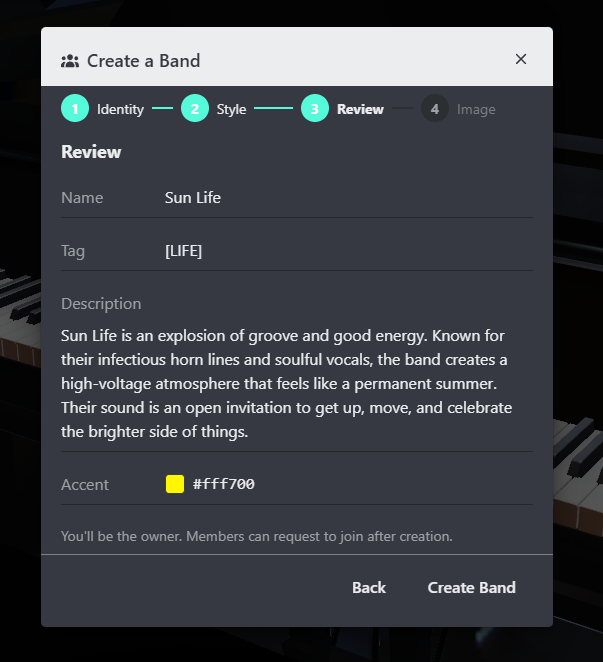
The review screen shows your name, tag, description, and accent color in one place. It also reminds you:
You'll be the owner. Members can request to join after creation.
Click Create Band to submit. The band is created immediately and you become the owner.
Step 4 — Image (optional)
After the band is created, you can upload a profile image.
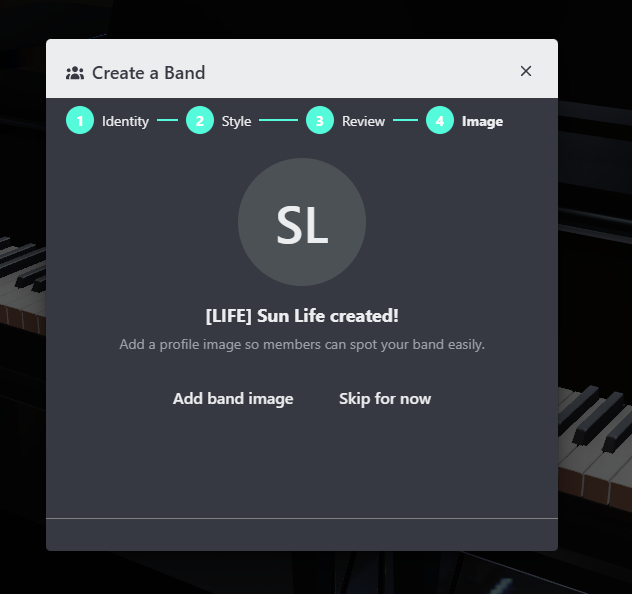
- Click Add band image to upload a JPEG or PNG.
- Or click Skip for now — you can always add one later from the Bands modal.
See Band Profile Image for details on managing the image after creation.